Beast of Reincarnation Chapter 8: Sun, Moon, Earth Puzzle Solution and Crater Zone Bug Warning
Navigate the treacherous Crater Zone with our solution for the celestial puzzle, combat tips for Cave Nushi, and a critical warning to protect your save file.
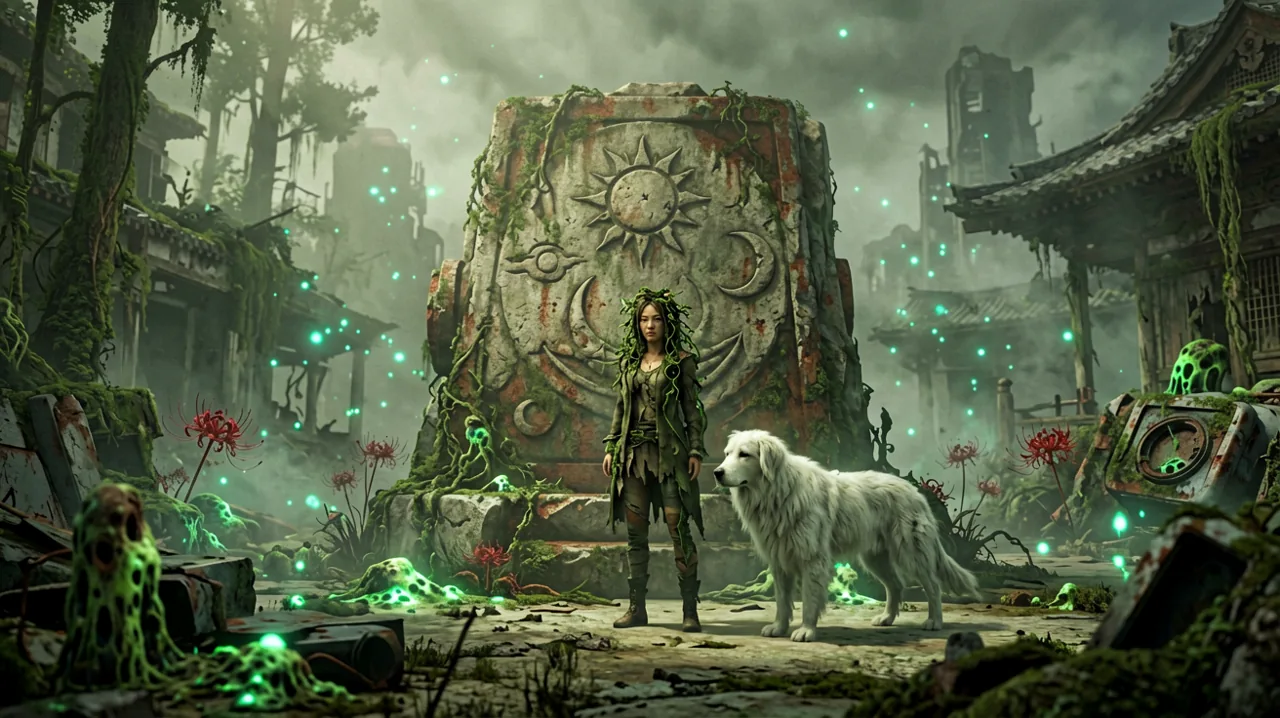
As players push past the halfway point of Game Freak’s ambitious action RPG debut, the difficulty curve shifts dramatically. By the time you reach Chapter 8, the familiar overgrown ruins of the early mountain settlements give way to the treacherous Crater Zone. This massive, blight-infested wasteland tests both your traversal skills and your combat timing. This section of post-apocalyptic 4026 Japan is visually striking but harbors a few frustrating obstacles, including a notoriously tricky environmental brain-teaser and a severe, progress-blocking technical issue that the community recently uncovered.
If you are exploring the Crater Zone via Xbox Game Pass or playing on PlayStation 5 and PC, you will eventually encounter the Sun, Moon, and Earth puzzle. Shortly after that, you will face the intimidating Cave Nushi boss fight. Because of a specific geometry glitch tied to the gateway leading to this boss, you need to tread carefully to avoid ruining your save file. Here is exactly how to solve the celestial puzzle, prepare for the malefact encounter, and safely navigate the buggy gate sequence.
Exploring the Crater Zone
The Crater Zone is densely packed with high-level mutated creatures. To survive here, you must rely heavily on your identity as a Sealer. Emma’s unique biology—specifically her vine-like, plant-based hair—becomes essential for scaling the jagged, unstable terrain. Unlike the more linear paths found in the lore and setting of earlier chapters, the crater demands vertical exploration. You will frequently need to grapple onto protruding rusted rebar and swing across pools of concentrated, toxic green blight.
Sending Koo out to scout is mandatory in this zone. The visibility is often obscured by thick spore clouds, making it easy to get ambushed by wandering beasts. Command Koo to bark and draw enemy attention before you drop down into a group of malefacts. This tactical separation gives you the breathing room needed to absorb incoming strikes and unleash perfectly timed parries. Utilizing the combat mechanics effectively here means managing space just as much as managing your stamina and spirit gauges.
Optimizing Performance in the Crater Zone
Because the Crater Zone is filled with dense volumetric fog, spore clouds, and complex geometry, it is one of the most demanding areas in the game. Recent technical analysis highlighted that Game Freak’s Unreal Engine 5 debut is a bit of a mixed bag regarding frame pacing and resolution scaling.
If you are playing on PC, this zone might cause severe stuttering if your settings are not dialed in correctly. To maintain a smooth 60 FPS—which is absolutely vital for the tight parry windows required against the Cave Nushi—consider lowering Volumetric Clouds and Effects Quality to Medium in your PC settings. The blight spores look slightly less dense, but the trade-off in input latency is worth it. For PS5 and Xbox Series X|S users, ensure you are utilizing the Performance Mode rather than Quality Mode. The visual blurring reported by some players is much less noticeable when the action remains fluid during intense encounters.
Solving the Sun, Moon, and Earth Puzzle
About midway through the Crater Zone, you will stumble upon an ancient, rusted mechanical rotunda integrated into a decaying shrine. This section completely halts your forward momentum until you solve the Sun, Moon, and Earth puzzle.
Unlike the fast-paced, counter-heavy encounters that define the rest of the game, this puzzle requires careful environmental observation. Here is the step-by-step process to unlocking the mechanism:
- Investigate the Murals: Surrounding the central console are three ruined walls. Each wall depicts a different phase of the apocalypse—the scorching of the land (Sun), the rising of the blight tides (Moon), and the fracturing of the soil (Earth).
- Align the Outer Ring (Earth): Interact with the stone mechanism. You need to rotate the outermost ring until the fractured soil symbol aligns with the crack running through the floor of the shrine. You will hear a distinct mechanical click when it locks into place.
- Align the Middle Ring (Moon): Move to the middle ring. The clue for this is hidden behind the shrine. If you use Emma’s vines to pull down the debris blocking the back window, moonlight (or sunlight, depending on the dynamic time of day) will cast a shadow across the room. Align the Moon symbol with the tip of this shadow.
- Align the Inner Ring (Sun): Finally, the Sun symbol must face directly toward the distant mountain peak where the survivor settlement is located. Rotate the inner dial until it points dead north toward your home base.
- Lock It In: Once all three rings are aligned, step back and instruct Koo to stand on the pressure plate near the entrance while you pull the main lever.
Completing this puzzle grants you a high-tier upgrade item for your Spirit Stones and opens the path deeper into the crater, leading directly to the Cave Nushi encounter.
CRITICAL WARNING: The Cave Nushi Gate Bug
Before you proceed any further, you need to be aware of a severe technical issue currently plaguing the game. Community members have reported a consistent, progress-blocking bug in Chapter 8 that can permanently soft-lock your playthrough.
How the Bug Triggers
After progressing past the puzzle area, you will reach a control panel that operates a massive blast door leading to the Cave Nushi boss arena. Interacting with this panel triggers a cinematic cutscene where the gate slowly grinds open.
The bug occurs if you turn off your console, close the game, or experience a crash immediately after this cutscene ends, before triggering the next auto-save checkpoint inside the boss arena. When you reload the game, you will spawn back at the control panel, but the gate will be shut tight. Because the game registers the panel as “already activated,” you cannot interact with it again, leaving you trapped outside with no way forward.
How to Protect Your Save File
Until the developers deploy a definitive fix in the latest patches (community reports indicate that recent updates have not resolved this specific geometry state issue), you must follow these rules when approaching the Cave Nushi:
- Do not quit the game in the Crater Zone after solving the celestial puzzle.
- Once you pull the lever and watch the gate open, walk all the way into the cavern until you see the “Cave Nushi” title card appear on the screen and the boss encounter begins.
- Let the boss defeat you if you need to stop playing. Spawning at the boss arena’s checkpoint is entirely safe and overrides the bugged save state.
- Keep a manual backup save uploaded to the PlayStation Plus cloud or your PC’s local files before entering Chapter 8, just in case.
Preparing for the Cave Nushi Encounter
Assuming you safely bypass the gate, the Cave Nushi awaits. This massive, heavily armored malefact operates very differently from the agile humanoids you fought earlier in the game. It uses the confined space of the cavern to its advantage, repeatedly charging and bouncing off the walls to disorient you.
- Master the Deflection: The Cave Nushi’s attacks are heavily delayed. If you have been relying on panic dodging, this boss will punish you severely. You must stand your ground and wait for the creature’s massive claws to begin their downward arc before tapping the parry button. Posture breaking is the only reliable way to deal meaningful damage.
- Utilize Koo’s Distraction: When the boss begins glowing with raw blight energy, it is preparing an unblockable area-of-effect slam. Command Koo to bark and run to the opposite side of the arena. The boss will track the dog, giving you time to grapple to the cavern ceiling using your vines and drop down for a plunging attack once the shockwave dissipates.
- Sealing the Blight: As you chip away at its health, the Nushi will expose glowing green pustules on its back. Use Emma’s Sealer abilities to absorb this blight. Not only does this deal massive posture damage, but it also replenishes your healing reserves, allowing you to sustain the lengthy, grueling fight.
Endgame Expectations and the Platinum Trophy Grind
Overcoming the Crater Zone marks a turning point in the campaign. From here, the narrative accelerates toward its emotional climax, exploring the deeper lore of Project Bloom and the true nature of the parasitic blight that ravaged the world.
Players who have already rolled credits report that a standard playthrough clocks in at around 30 to 40 hours. The ending provides a heavy, emotional payoff that draws frequent comparisons to the atmosphere of the Nier series, offering a satisfying conclusion to Emma and Kagura’s arcs. However, those aiming for 100% completion or the Platinum trophy should prepare for a significant grind. The endgame requires farming skill points reminiscent of late-game skill trees in similar genre titles, and fully upgrading all weapons and gear necessitates multiple runs to gather enough resources.
Despite some technical hiccups and a Metacritic score that currently sits at a divisive 73—with critics praising the hardcore combat and atmosphere but critiquing the lack of enemy variety and pacing—the game has cultivated a dedicated audience. The bond between Emma and Koo, combined with the visceral satisfaction of the parry system, makes this bold departure from traditional franchise formulas a memorable experience.
For those currently pushing through the mid-game, stay vigilant regarding the Chapter 8 gate glitch, utilize your environment during the puzzles, and always trust in your canine companion. The journey through this beautifully decayed vision of Japan is absolutely worth seeing through to the end.