Beast of Reincarnation Full Zone Progression and Exploration Roadmap
A complete region roadmap for Game Freak's action RPG, detailing the journey through blighted 4026 Japan, Emma's memory recovery, and PC technical fixes.
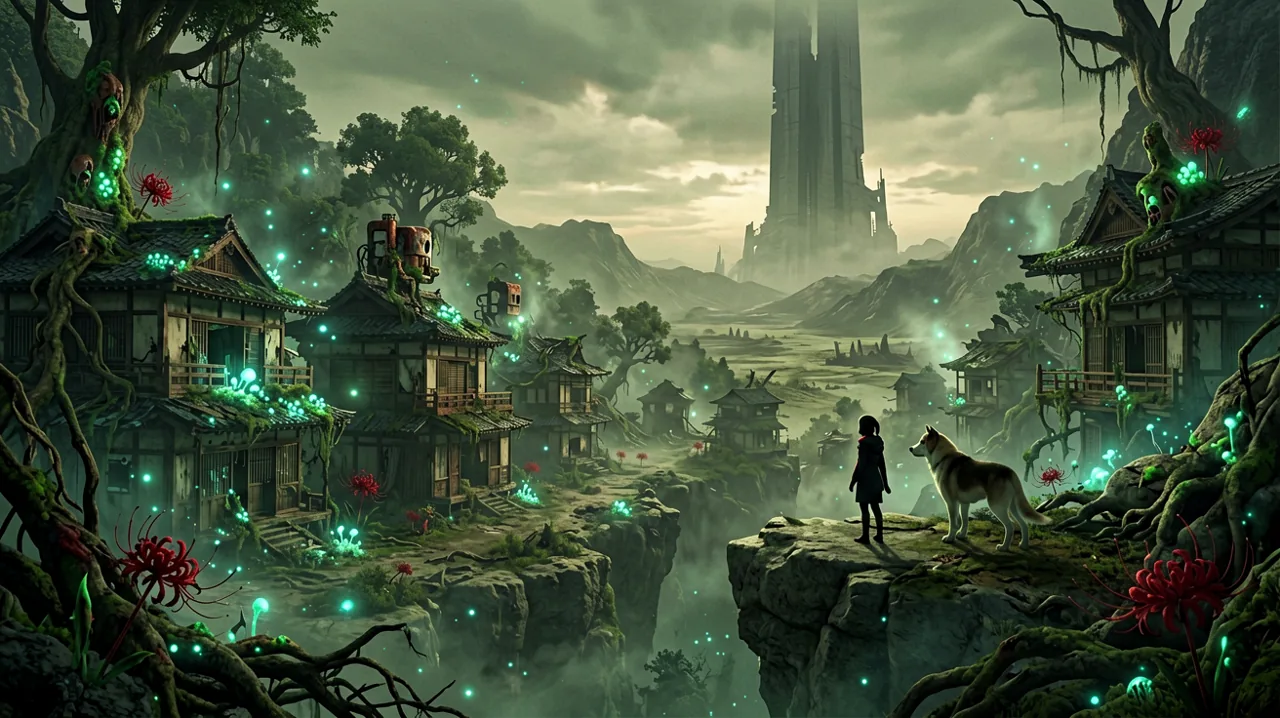
Navigating the overgrown, hostile environments of 4026 Japan in Game Freak’s ambitious action RPG requires more than just precise parrying skills. Surviving the journey as Emma, the 18-year-old Sealer, alongside her malefact canine companion Koo, demands a thorough understanding of the game’s interconnected regions. As players push further from the isolated mountain settlements into the heart of the infestation, the map opens up to reveal a staggering scale of environmental storytelling and escalating combat challenges.
Based on recent community mapping efforts and official walkthrough indices, the progression path from the opening tutorial to the harrowing finale is now clear. Whether you are hunting down obscure spirit stones or trying to anticipate the next major difficulty spike, understanding the geographic layout of Beast of Reincarnation is crucial.
The Early Game: Gaining Your Footing in the Ruins
The opening hours of the game are tightly structured to introduce players to the unforgiving combat rhythm and the unique synergy between Emma and Koo. Our Beginner’s Guide highlights the importance of these early zones for mastering the parry window and stamina management.
Prologue & Ogouchi Buffer Zone
After the narrative setup, the Ogouchi Buffer Zone serves as your first true test. This area features relatively contained encounters with low-tier malefact, allowing players to practice utilizing Emma’s plant-like hair to manipulate the battlefield. It is here that you learn the fundamentals of absorbing blight and executing takedowns.
Ancient Civilization Zone
Moving deeper into the ruins of what used to be a sprawling metropolis, the Ancient Civilization Zone introduces verticality. Navigating crumbled skyscrapers and rusted overpasses requires liberal use of Emma’s vine-like appendages. The environmental puzzles here teach players how to clear localized blight blockages to reveal hidden paths.
Great Wall Terraces
A monumental structure built by humanity in a desperate, failed attempt to hold back the encroaching spores. The combat encounters in the Terraces often feature narrow walkways and fatal drops, forcing a tactical reliance on Koo’s tracking abilities to prevent ambushes. This region also serves as a hub for finding essential early-game Equipment Manuals for arrows and bolts.
The Mid-Game Ascent: Scaling the Defenses
As Emma and Koo leave the immediate outskirts, the density of the blight intensifies. The mid-game regions act as the primary testing ground for your localized character build, demanding precise use of spirit stones and upgraded Blade Arts. Players struggling here should reference our Combat Guide for optimized damage windows.
Pilgrim’s Zone & Matsukawa Zone
These interconnected areas transition from militarized ruins to overgrown, traditional Japanese village remnants. The Matsukawa Zone is particularly notable for its dense concentration of Keeper Golems and Dragon Vein Shrines. Exploring these rural remnants is necessary for gathering Crop Seedlings, a vital resource tied to the game’s crafting and progression systems. The narrative heavily contextualizes the original outbreak within these shrines, offering critical lore for those who read the environmental Documents.
Fuji Frontier Zone
Approaching the iconic, now unrecognizable mountain, the Fuji Frontier Zone presents a severe difficulty spike. The atmospheric pressure of the blight here drains stamina faster, making prolonged engagements incredibly dangerous. Mastering Koo’s slow-motion tactical assists is no longer optional; it becomes a mandatory survival tool to interrupt heavy malefact attacks.
Giant Tree Zone & Crater Zone
Characterized by massive parasitic roots that twist through the earth, the Giant Tree Zone feels distinctly alien. The environmental hazards are relentless, leading directly into the Crater Zone—reportedly ground zero for a major historical event involving the Sealer lineage. Expect grueling boss encounters that will test the limits of your healing resources.
The Late Game: Memory Recovery and The Final Push
The final third of Beast of Reincarnation abandons any pretense of accessibility, throwing complex enemy combinations and punishing stunlock sequences at the player.
Inukami River Zone
A treacherous waterway region where Koo’s traversal mechanics take center stage. The terrain is highly irregular, requiring careful platforming over toxic, blighted currents.
Starfall Tower (The Tenth Zone)
Widely confirmed by early guides and community wikis as the tenth major zone, Starfall Tower acts as a massive narrative bottleneck. It is reportedly in this towering, ominous structure that Emma finally regains her fragmented memories. The revelations surrounding the year 4026, the true nature of Project Bloom, and the origins of the malefact converge here. Expect heavy story exposition layered between gauntlets of elite enemies guarding the ascent.
Mount Hiei Zone & The Capital
After the revelations at the Tower, the journey moves through the monastic ruins of Mount Hiei before descending into The Capital. As the epicenter of the blight, The Capital serves as the endgame gauntlet. Players will need fully upgraded generator devices and optimized loadouts to survive. For strategies on tackling the final difficulty scaling, check our Endgame Guide.
Maximizing Exploration: Campsites and Collectibles
Throughout these thirteen distinct regions, maintaining a meticulous approach to exploration yields significant power increases. Campsites act as your primary safe havens, allowing you to manage equipment, upgrade generator devices, and interact with Koo.
Keep an eye out for specific collectibles that directly impact gameplay:
- Dragon Vein Shrines: Essential checkpoints and fast-travel nodes.
- Recipe Books & Equipment Manuals: Required to craft advanced blades, specialized bolts, and consumable buffs.
- Paintings of Lore & Documents: Crucial for players invested in piecing together the timeline between the 21st century and the desolate reality of 4026. For a deep dive into the backstory, visit our Story and Setting Explained portal.
Community Technical Notes: PC Crashes and Progression Bugs
While the journey through blighted Japan is masterfully designed, the launch window has not been without its technical hurdles. For players on the PC ecosystem, specific bugs are currently impeding exploration.
The Koo Affection Bug
Bonding with Koo is a core pillar of the experience, offering narrative depth and unlocking superior combat synergies. However, numerous players on the community subreddit have reported a frustrating progression blocker. Upon reaching the maximum affection level with Koo, the expected “Talk” command fails to appear at campsites. This prevents players from experiencing the final deep conversation sequence with their companion. Until Game Freak deploys a hotfix, players should be aware that this specific narrative payoff might be temporarily delayed.
Linux and Steam Deck Unreal Engine Crashes
Steam Deck and Linux users—particularly those utilizing Bazzite—have reported severe Unreal Engine fatal errors upon startup or during area transitions. Community testing indicates that running the game via Proton Experimental or Proton-CachyOS-11 can sometimes stabilize performance.
Furthermore, players with specific hardware configurations (like the RTX 2070 on Linux) have found success by forcing DirectX 11. Adding the following launch options in Steam has reportedly bypassed the crashes for many:
VK_LOADER_DRIVERS_DISABLE="dzn,radeon,lvp,intel,hasvk" VKD3D_DISABLE_EXTENSIONS=VK_EXT_mesh_shader,VK_NV_raw_access_chains %command% -dx11
We recommend PC users continue to monitor our Patches and Known Issues hub for official fixes from Game Freak as the development team rolls out ongoing stability updates. For those tinkering with upscaling, community consensus suggests that DLSS 4.0 models currently provide better visual clarity at native 4K compared to the newer 4.5 iterations, though the differences remain highly dependent on individual hardware setups.