Mid-Game Power Scaling in Beast of Reincarnation: Generator Devices, Electronic Brains, and Skill Farming
Overcome the mid-game difficulty spike in Beast of Reincarnation. Learn where to find Generator Devices, upgrade your Cleanse Walker, and farm skill points efficiently.
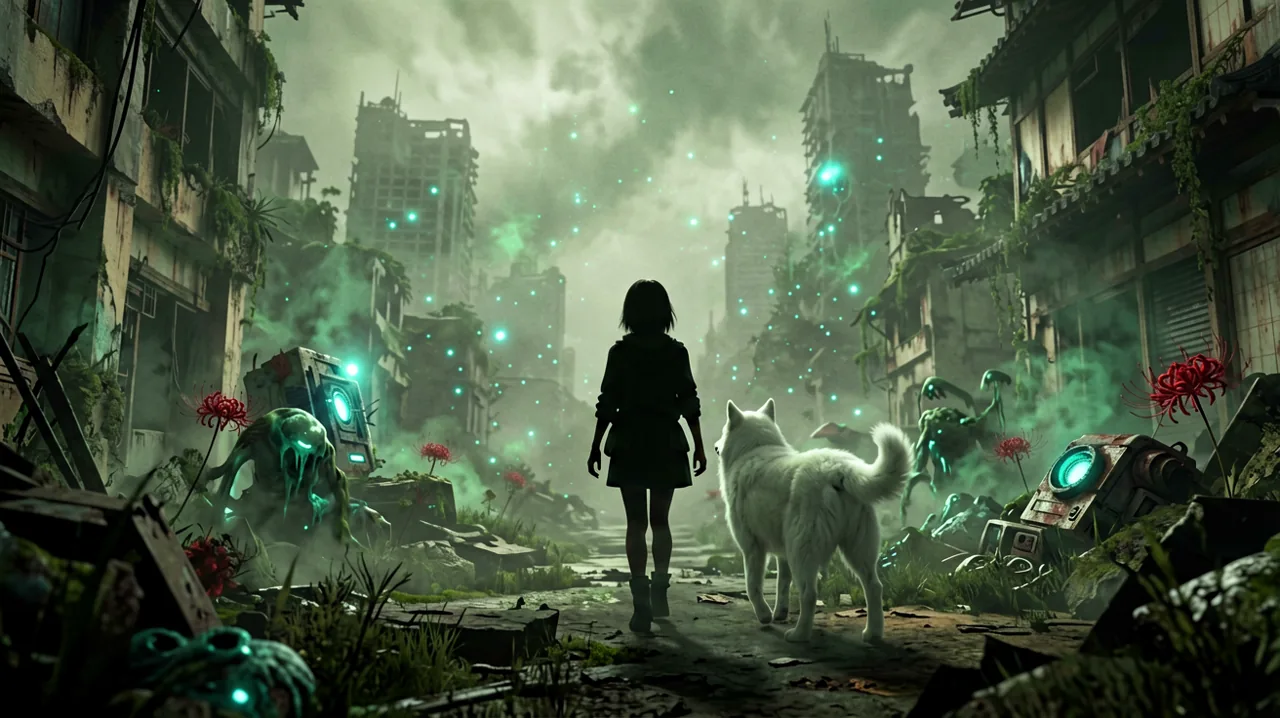
Game Freak’s ambitious transition from handheld monster-catching to a grim, hardcore action RPG is officially in the hands of the public. Now that the initial launch weekend has passed and players are pushing deep into the narrative, the reality of Beast of Reincarnation is setting in. The world, set in a hauntingly beautiful 4026 AD Japan swallowed by parasitic blight, is visually captivating. However, the combat system—heavily inspired by the rhythmic deflections of Sekiro and the atmospheric tension of NieR: Automata—stops pulling its punches entirely by the midpoint.
If you are finding yourself constantly out of healing items, or if basic malefact enemies are suddenly two-shotting you, it is time to fundamentally rethink your progression strategy. Relying solely on the natural skill points gained through main story progression is a surefire way to hit a frustrating wall. Overcoming the mid-game difficulty spike requires a dedicated focus on tracking down obscure collectibles like Generator Devices and Electronic Brains, refining your build synergies, and understanding the unyielding nature of the game’s deflection mechanics.
The Crucial Role of Generator Devices
Throughout your exploration of the ruined mountain settlements and overgrown cityscapes, you will occasionally spot faint, unnatural humming sounds. These environmental cues usually lead to Generator Devices. While the game doesn’t heavily tutorialize their importance, community mapping and hardcore players have confirmed over the last few days that these collectibles are strictly tied to upgrading your raw physical power and sealing efficacy.
Unlike the versatile crafting materials (which you can read about in our builds and spirit stones overview) that modify your elemental damage or apply passive traits, Generator Devices directly scale your baseline output. You will not find many of these in the opening hours. The real scavenger hunt begins when you unlock the Giant Tree Zone.
This massive, vertically oriented biome forces you to master Emma’s vine-traversal abilities. You must use her plant-like hair to swing across broken overpasses and reach secluded alcoves hidden behind corrupted root systems. Acquiring these power upgrades early drastically changes the time-to-kill on standard mobs. In a game where avoiding damage relies entirely on precise parry timing, minimizing the duration of every single encounter is your best defense. Taking the time to scour the Giant Tree Zone for these power upgrades is highly recommended before you push into the story’s third act.
Electronic Brains and Upgrading the Cleanse Walker
Another easily missed progression system revolves around Electronic Brains. These glowing, corrupted logic cores are scattered throughout the mid-to-late game areas, most notably in Chapter 8’s Crater Zone—affectionately dubbed the “Worm Food” section by the community.
Electronic Brains are used specifically to upgrade the cleanse walker’s calculation capabilities back at your main settlement hub. If you find yourself constantly ambushed by submerged malefacts, or if you are struggling to locate areas with high concentrations of absorbable blight, your cleanse walker is likely severely under-leveled. Feeding these brains into the system increases the detection radius and calculation speed of your environmental scanning.
The Crater Zone is notorious for its thick, irradiated spore clouds that heavily limit your visibility. Having a fully upgraded cleanse walker here is practically mandatory if you want to avoid stumbling directly into elite enemy patrols. Furthermore, the upgraded scanner reveals optional challenge arenas that hold some of the highest-tier crafting materials and hidden chests available before the endgame.
Breaking the Economy: Fast Skill Point Farming
Even with your base physical power upgraded, Emma’s skill tree dictates your actual combat fluidity. Expanding the parry window and reducing the cooldowns on Koo’s tactical slow-motion abilities requires a massive influx of Skill Points.
Currently, the most efficient, community-reported farming route takes advantage of the highly popular Poison Build synergy. By equipping specific toxic-infused Spirit Stones found in the early sections of the Giant Tree Zone, Emma can apply a rapidly ticking damage-over-time (DoT) effect using her heavy strikes.
The most lucrative farming loop involves resetting a specific checkpoint just outside the Crater Zone entrance, where three to four mid-tier, high-yield malefacts patrol closely together. You command Koo to initiate the fight with a sweeping aggro-draw, instantly grouping the enemies into a tight cluster. Emma then follows up with a wide-area blight seal to apply the poison status to the entire group. From there, you simply kite the enemies, letting the poison drain their health while you focus purely on defensive deflections. Running this loop for an hour yields enough Skill Points to unlock the most expensive nodes on the skill tree, effectively breaking the mid-game economy in your favor.
Expanding the Arsenal: Swords and Arrow Types
While Emma’s parasitic hair and sealing abilities define the visual flair of Beast of Reincarnation, traditional physical weaponry remains the backbone of your damage output. The starting blade will quickly lose its effectiveness against the heavily armored carapaces of the foes in the Crater Zone.
Exploration directly feeds into your combat versatility. Hidden within the deeper reaches of the map are unique Sword variants that offer vastly different stagger potentials. Heavier blades take much longer to swing but are absolutely necessary for interrupting the hyper-aggressive attack chains of elite malefacts.
Ranged combat also opens up significantly as you progress. Crafting and utilizing different Arrow and Bolt types adds a vital tactical layer to the engagements. Using explosive bolts on environmental blight clusters can create makeshift area-of-effect traps, allowing you to heavily damage and control the battlefield before ever drawing your sword.
Overcoming the Taurus Boss Skill Check
You will need every ounce of that upgraded power and tactical variety when you reach the Taurus boss encounter. Taurus acts as a brutal gatekeeper that tests whether you have truly internalized the combat rhythm. Dodging is largely ineffective here; attempting to roll through its massive sweeping halberd attacks will almost always leave you caught in the trailing hitboxes. You must stand your ground and deflect (refer to our boss fight primer for advanced timing tips).
This encounter demands flawless synergy between the Sealer and her companion. Taurus utilizes a highly deceptive attack string: a delayed right hook followed instantly by a rapid left swipe. If you mistime the first deflection, the second will likely kill you outright. The optimal strategy is to use Koo’s slow-motion tactical intervention just as the second swipe initiates. This brief window of slowed time allows you to safely reposition behind the boss and unleash a fully charged heavy attack.
Community Feedback: The Reality of NG+ and Repetition
As the hardcore player base reaches the finish line of this roughly 40-hour journey, the consensus is pointing toward a remarkably solid but flawed masterpiece. General reviews reflect a lukewarm but passionate sentiment. The art direction is universally praised, perfectly capturing the melancholic, overgrown ruins of a fallen society, accompanied by an emotionally resonant—albeit somewhat repetitive—soundtrack.
However, players attempting to secure the Platinum trophy are raising significant warnings about the New Game Plus (NG+) experience. A widely community-reported issue is the presence of entirely unskippable cutscenes. In a game heavily focused on narrative, re-watching ten-minute cinematic sequences before major boss fights during a second playthrough is a severe pacing killer. Until Game Freak deploys a patch addressing this, trophy hunters should brace themselves for a lot of waiting.
Additionally, the enemy variety thins out noticeably in the final act. Many of the late-game bosses and elite mobs are structural reskins of earlier enemies, reusing the exact same “left hook, right hook, grab” attack patterns. While the deflection mechanics remain inherently satisfying—with the sharp clash of steel echoing brilliantly through the audio mix—the mechanical repetition becomes highly apparent once you learn the baseline movesets.
PC Performance and Optimization Tips
For those playing on PC, maintaining a flawless 60 FPS is critical for a game relying on frame-perfect parries. Early community testing indicates that mid-range hardware, such as the RTX 3050, can comfortably handle 1080p at High settings in the opening areas. However, once you reach the spore-heavy environments of the Crater Zone, frame pacing issues can rapidly emerge.
We highly recommend lowering the volumetric fog and shadow quality to medium. This minor visual sacrifice ensures your parry windows remain consistent when the screen fills with chaotic, performance-heavy particle effects.
Beast of Reincarnation is a bold step for its developers, offering a rich, punishing world that rewards meticulous exploration and rhythmic combat. By focusing on Generator Devices, upgrading your cleanse walker, and farming effectively, you can conquer the mid-game difficulty spike and fully appreciate the dark beauty of this futuristic wasteland.
Sources
- Reddit: REVIEW — BEAST OF REINCARNATION
- Reddit: [Beast of Reincarnation #75] - NG+ Feedback
- Eurogamer: Bosses List
- MSN: Best Poison Build
- GamingBolt: How To Farm Skill Points Fast
- MSN: All Generator Device Locations
- MSN: All Electronic Brain Locations
- Eurogamer: Crater Zone Walkthrough
- GameRant: Reviews and Reception
- Reddit: Giant Tree Zone Collectibles