Beyond the Basics: Mastering Takedowns, Koo's Assists, and the Forgiving Parry in Beast of Reincarnation
Learn how to chain executions with Koo, exploit the generous Just Guard mechanics, and overcome the inverted difficulty curve in Game Freak's action RPG.
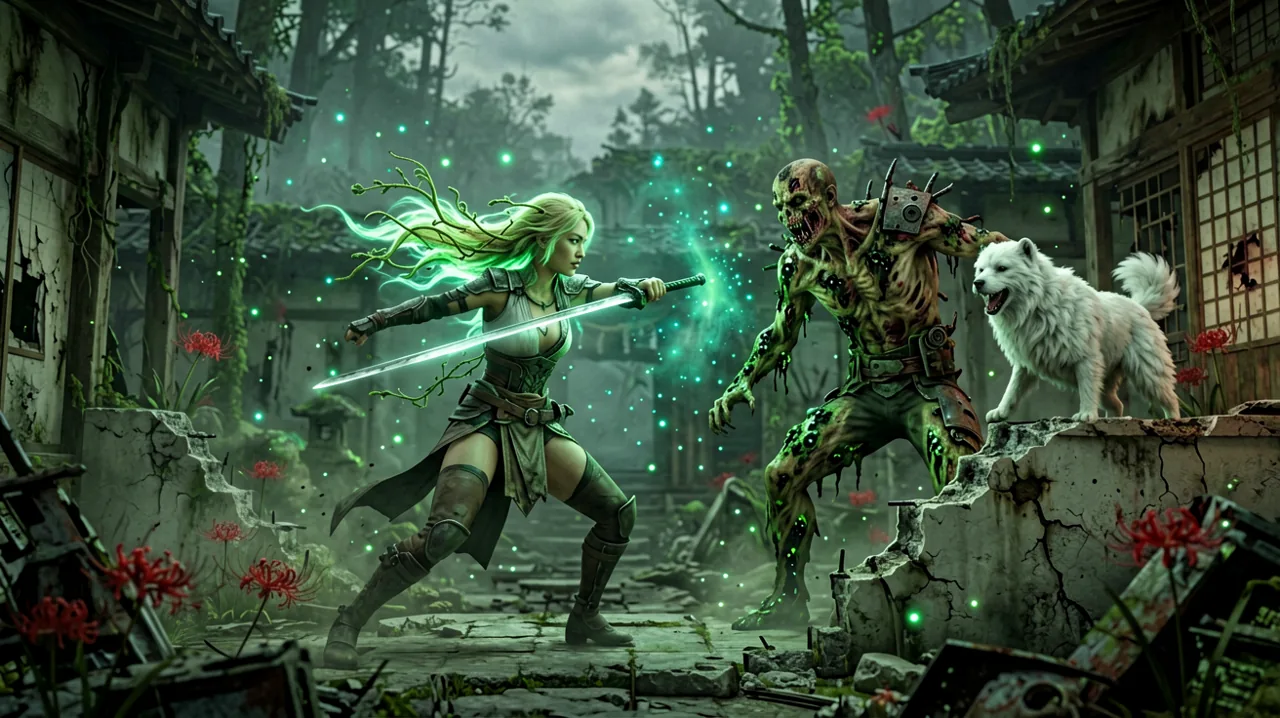
Game Freak’s bold transition from family-friendly monster collecting to the gritty, post-apocalyptic ARPG genre has been a massive focal point of discussion since the days it was known merely as Project Bloom. Set in the year 4026, Beast of Reincarnation drops players into a ruined vision of Japan completely consumed by a parasitic phenomenon known as the blight. As Emma, an 18-year-old Sealer capable of weaponizing her own plant-like hair and vines, players navigate a treacherous world alongside Koo, a massive, fluffy dog that also happens to be a malefact.
While the bleak setting establishes a heavy tone, the combat system has drawn significant praise for what it does not do. As highlighted in a recent GamesRadar retrospective, Beast of Reincarnation successfully delivers a “Pokémon-inspired soulslike without the cruelty of Dark Souls.” For a genre that often prides itself on punishing difficulty and steep learning curves, Game Freak has engineered a combat loop that feels hard-hitting and intense, yet noticeably more accommodating for newcomers. By examining the underlying mechanics of the Just Guard system, the highly satisfying takedown chaining, and the symbiotic role of your canine companion, we can understand exactly why the action in this game feels so uniquely rewarding.
The Generous Timing of the “Just Guard”
At the core of the combat loop is the parry system, officially referred to in-game as the Just Guard. To survive against mutated flora and heavily armored malefact monstrosities, Emma must deflect incoming strikes to rapidly fill the enemy’s Stagger Bar. This mechanic naturally invites comparisons to titles that demand absolute precision. However, a prevailing sentiment among the community is that the Just Guard timing is incredibly forgiving.
Players attempting no-damage runs on early bosses, such as the massive amphibian Lacerta Nushi, report that the active frames for a successful parry feel significantly wider than expected. Even those who typically avoid parry-heavy action games are finding themselves successfully deflecting rapid combinations without feeling heavily punished for a slight miscalculation. When you press the guard button correctly, Emma’s blade connects with the enemy’s appendage, resulting in a flash of kinetic energy and a distinctive metallic clash.
This forgiving window serves a distinct purpose. It encourages players to engage directly with the combat rhythm rather than constantly dodging or backing away. It functions as a teaching tool—allowing you to learn the attack patterns of various enemies while rewarding you with a massive boost to the Stagger Bar when you hit the mark. While early difficulty modes on Hard present a stiff challenge, this forgiving parry window ensures that frustration is minimized, keeping the focus entirely on maintaining momentum and setting up the enemy for a lethal finisher.
Dissecting the Takedown Trinity
Once an enemy is sufficiently weakened or unaware of your presence, the game’s execution mechanics take over. Recent community deep-dives into the game’s animation sets have categorized the takedowns into three distinct archetypes, each requiring specific setups and situational awareness.
The first is the Assassinate. This is the stealth approach, highly reliant on your traversal skills. By utilizing Emma’s blight hair to grapple onto dilapidated ruins, overgrown structures, and elevated terrain, you can bypass an enemy’s line of sight entirely. Dropping down directly behind a patrolling enemy triggers a specific UI prompt. Activating it results in a swift, silent takedown that instantly neutralizes the threat without alerting the surrounding pack.
The second is the standard Execution. This occurs in the heat of active combat. When you successfully layer Just Guards and offensive strikes, the enemy’s Stagger Bar will eventually max out. Alternatively, reducing a boss or elite enemy’s health to near-zero will yield the same result. A clear visual prompt signals the vulnerability, allowing Emma to perform a brutal, highly stylized finishing move that absorbs the blight from the fallen foe. This action restores a small portion of your resources and grants temporary buffs depending on your equipped configuration.
The third variant is the Death From Above. As the name implies, this relies entirely on verticality. Whether you are initiating stealth from an elevated vantage point or launching yourself into the air mid-combat using a specific vine-pull maneuver, striking a staggered or unaware enemy from above yields a unique takedown animation. This move often carries a wider area-of-effect impact upon landing, disrupting the footing of adjacent smaller enemies and giving you vital breathing room in crowded encounters.
Koo’s Assist and the Art of the Chain Kill
Where the combat system truly shines, and where the game distinguishes itself from its peers, is the integration of Koo. Your canine companion is not merely a passive follower or a simple distraction tool; Koo is a lethal extension of Emma’s arsenal. The true depth of tactical combat is unlocked when you invest in Koo’s specific skill upgrades within the progression tree.
The most vital node you can acquire allows for what the community has dubbed “Koo’s Assist.” The mechanics are remarkably fluid: immediately after Emma performs any of the aforementioned takedowns—Assassinate, standard Execution, or Death From Above—a brief window opens if there is another enemy in close proximity. By issuing a swift command, Koo will launch into a devastating secondary takedown on that adjacent target.
This creates a spectacular chain reaction on the battlefield. Emma silently eliminates a guard, and before the second guard can sound the alarm, Koo leaps from the shadows, tackling and executing the secondary threat. In a recent interview with VICE, Game Freak directors explicitly noted that Koo was designed to help balance the game’s overall difficulty. Instead of relying purely on Emma’s stamina management and reflex-based parrying, players are encouraged to use spatial awareness. If you position the enemies correctly, Koo’s tactical abilities can clear out half an encounter before a traditional fight even begins. This system provides a cerebral layer to the combat, making it feel more like a synchronized dance between two survivors who have fought side-by-side for years.
Cinematic Boss Executions and Pacing
The standard execution rules slightly alter when you confront the major, narrative-driven bosses scattered across the mountain settlements. While elite enemies and mid-bosses rely on standard Stagger Bar executions, the pinnacle encounters transition into bespoke, scripted cutscenes when their health is depleted.
Players documenting the game’s combat animations have noted distinct, highly cinematic sequences for major adversaries such as Shidou & Nue, Kunai & Kirin, and the terrifying Makoto. These sequences serve as visceral rewards for surviving grueling multi-phase battles. They emphasize the narrative weight of Emma’s role as a Sealer, illustrating the agonizing process of absorbing the corrupted blight from these massive creatures. It’s important to note that you cannot trigger these simply by filling the Stagger Bar early; you must survive the endurance test and bring their health down to the critical threshold, making the eventual cinematic payoff feel earned.
While some players have noted that certain early bosses have slightly limited attack motions compared to genre veterans, the sheer spectacle of these final executions more than compensates. As players progress toward the late game, it becomes crucial to experiment with optimal builds and spirit stones required to accelerate these encounters and trigger these visually stunning finales as efficiently as possible.
The Inverted Difficulty Curve
An interesting consequence of this forgiving parry system, robust progression tree, and powerful companion synergy is the game’s difficulty curve. Unlike traditional action RPGs that continuously ramp up the punishment, Beast of Reincarnation features what many in the community are calling an inverted difficulty curve.
According to numerous player impressions and reviews, the opening hours on Hard difficulty provide a stiff, uncompromising challenge. You have limited stamina, your weapon upgrades are non-existent, and Koo is relatively weak. However, as you explore the world, locate hidden Dragon Vein Shrines, and farm materials to upgrade your gear, the power scaling begins to favor the player heavily. By the time you reach the mid-to-late game, Emma’s expanded skill tree, specialized elemental arrows, and optimized armor sets synergize powerfully.
When combined with the forgiving Just Guard and Koo’s chain takedowns, the late-game bosses that are supposed to test your mastery are often defeated on the first or second attempt. The standard overworld enemies that once inspired terror become little more than fodder for spectacular execution chains. This power fantasy is highly satisfying for those looking for a power trip, but players seeking a grueling, sweat-inducing endgame might find themselves wishing for an even higher difficulty setting or a more aggressive New Game Plus modifier to keep the challenge alive.
Ultimately, Beast of Reincarnation proves that a developer can borrow the heavy, deliberate combat mechanics of a Soulslike without adopting its notoriously cruel philosophy. By providing a generous parry window, a deeply satisfying three-tiered takedown system, and seamless companion integration, Game Freak has crafted a remarkably accessible ARPG. Whether you are meticulously planning a stealth chain-kill with Koo or standing your ground to deflect the crushing blows of a mutated malefact, the combat flow remains consistently rewarding.